By now, you must have heard about the GUA SHA facial massage tool, from features in Allure Magazine to "Do What Feels Good" beauty Hannah Bronfman. I thought I'd give it a try and share it with you... but before that here's a little background the Gua Sha massage method.
GUA SHA actually refers to an intense full body healing massage that originates in East and Southeast Asia. This technique has been adapted to the face by aestheticians. The facial massage is less vigorous than traditional GUA SHA and uses a little stone scraper in different shapes (from wands, to squares or heart shaped tools). This stone is scraped along the contours of the face and neck. The light pressure of the Gua Sha movement releases tension and gets lymph fluids moving (which is a good thing - nothing worse than stagnant lymph fluid).
There are various benefits of GUA SHA that you can find here.
I have added this technique to my nighttime routine and find that it helps me relax and soothes the headaches I sometimes get after a long day.
Before you start, you should:
M+E carries a heart shaped GUA SHA TOOL in rose quartz that I like since each end hugs a different part of your face and because rose quartz is known to promote self love.
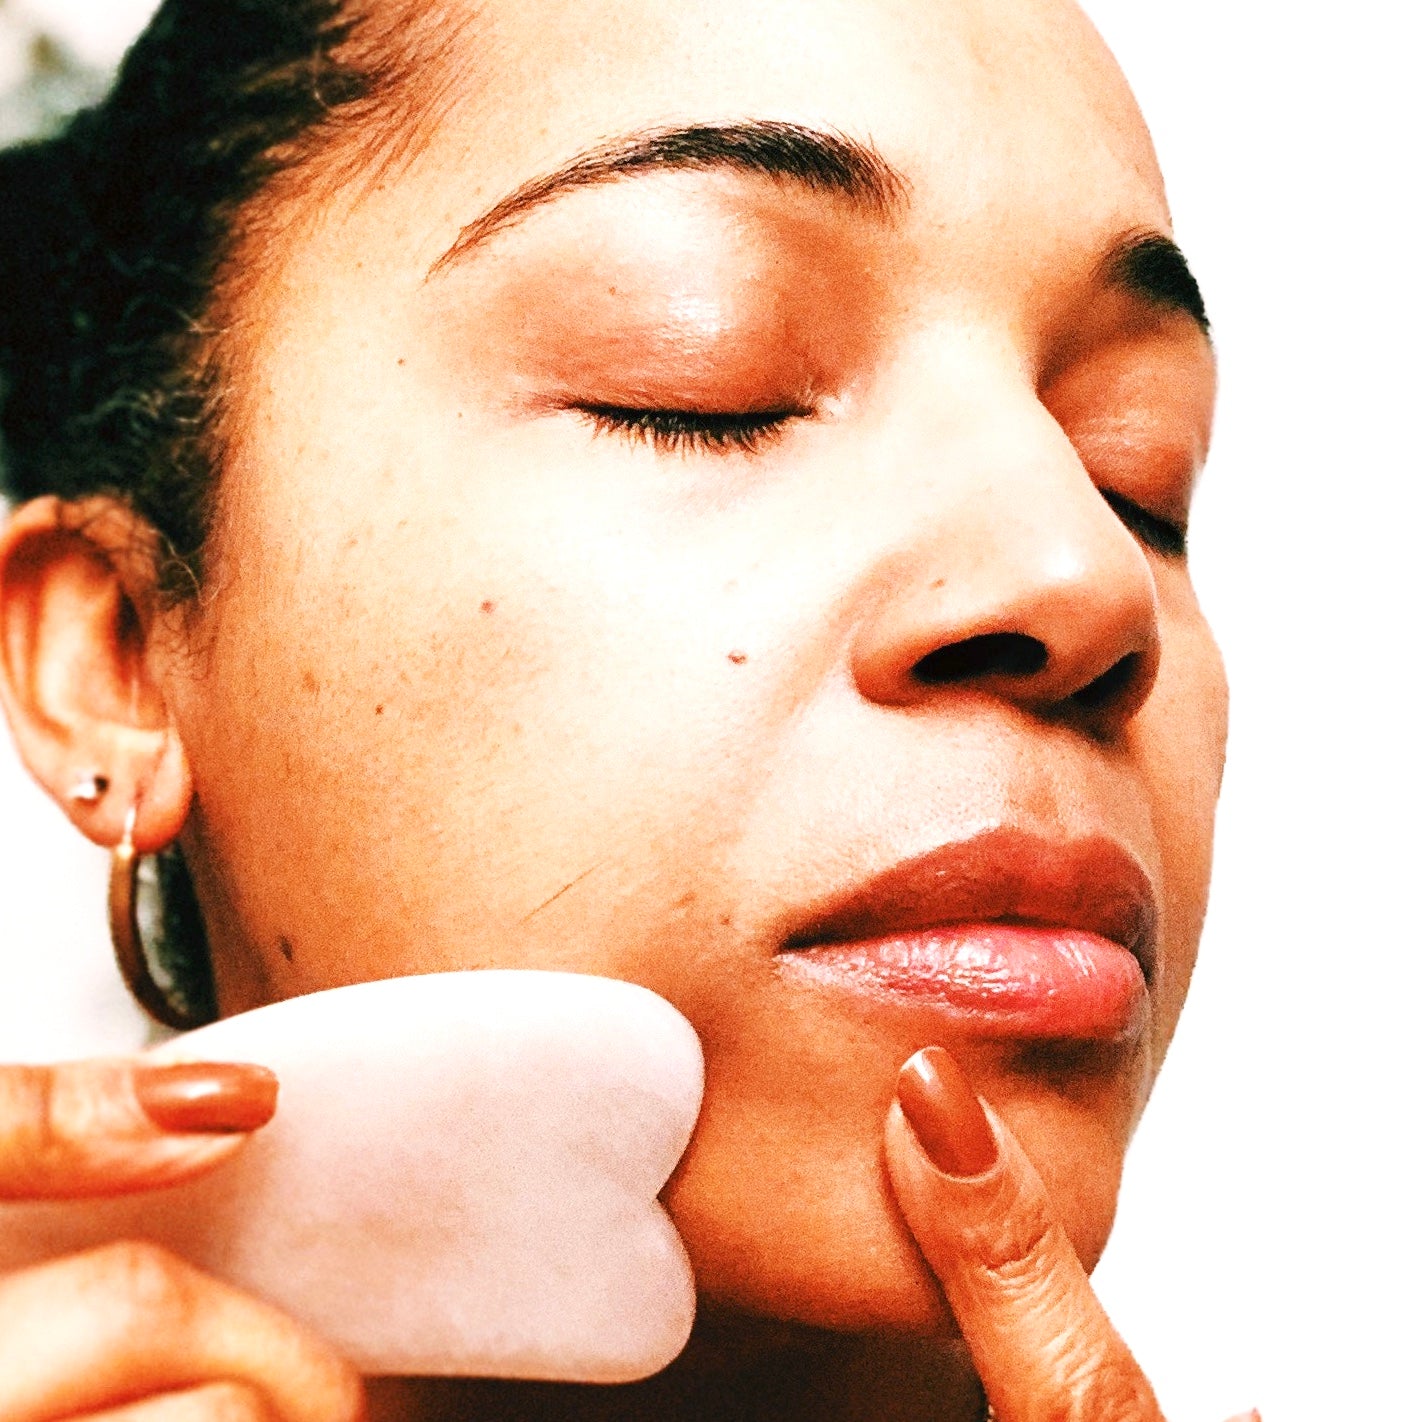
The tool is placed at an angle to your face (almost flat). It sometimes helps to press a finger on your skin to create a pulling effect while stroking in the opposite direction (as pictured above).
Scrape using medium to light pressure in an upward motion starting from the centre of your face all the way to the hairline between 3 to 10 times; alternating sides. The whole process should take you about 10 minutes.
This technique takes a bit of practice, you will use all sides of the Gua Sha Tool as shown below... I like to start at the jawline and work my way up.
Step 1 - Use the dented side to chisel the jawbone

Step 2 - Use the long convex side to contour cheeks

Step 3 - Use the narrow tip with gentle pressure under the eyes

Step 4 - Use the downward curved edge across the forehead

Step 5 - Finish with a nice and relaxing third eye massage ( straight line from the bridge of nose to the hairline)

Some redness may occur, that's normal since you are stimulating blood flow...for those who bruise easily, be gentle and limit number of strokes.
Click here for more information and to learn the selfcare benefits of GUA SHA.
Hope you enjoy my first ever tutorial. Photographing this was lots of fun, I plan on doing this a lot more of these in the future. Let me know what else you'd like me to try.
PS Nails by OOO POLISH in the colour FON and earrings by my fave jeweller, Lissa Bowie.
À bientôt!
D.


